Feature(s)
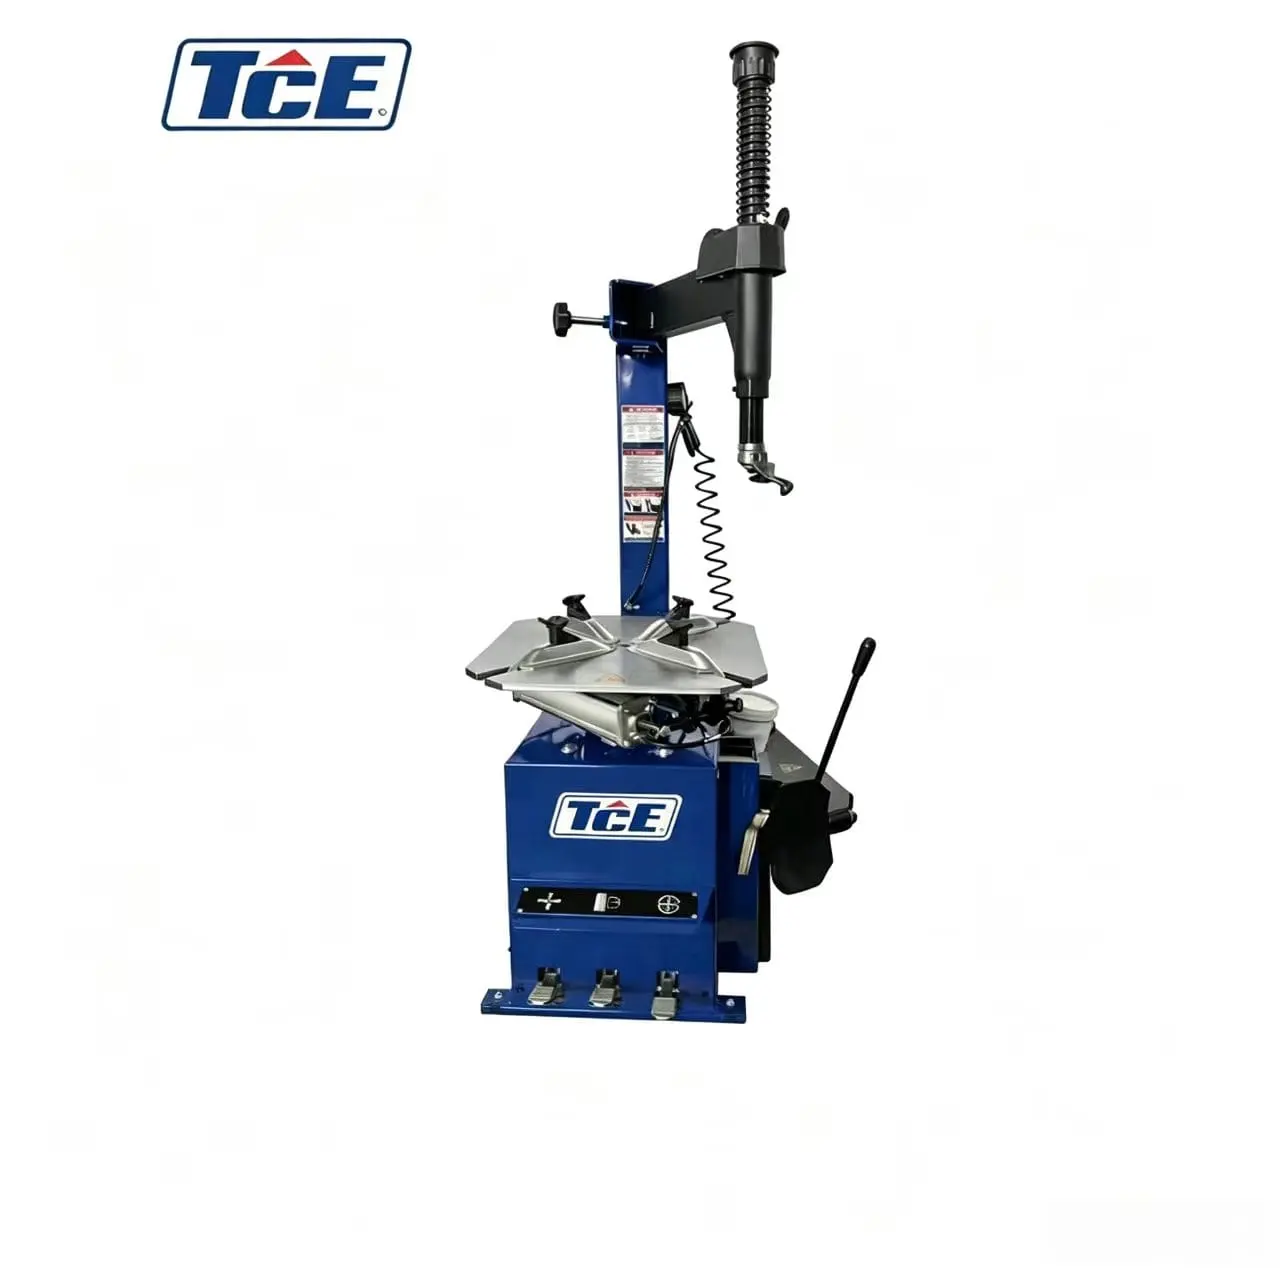
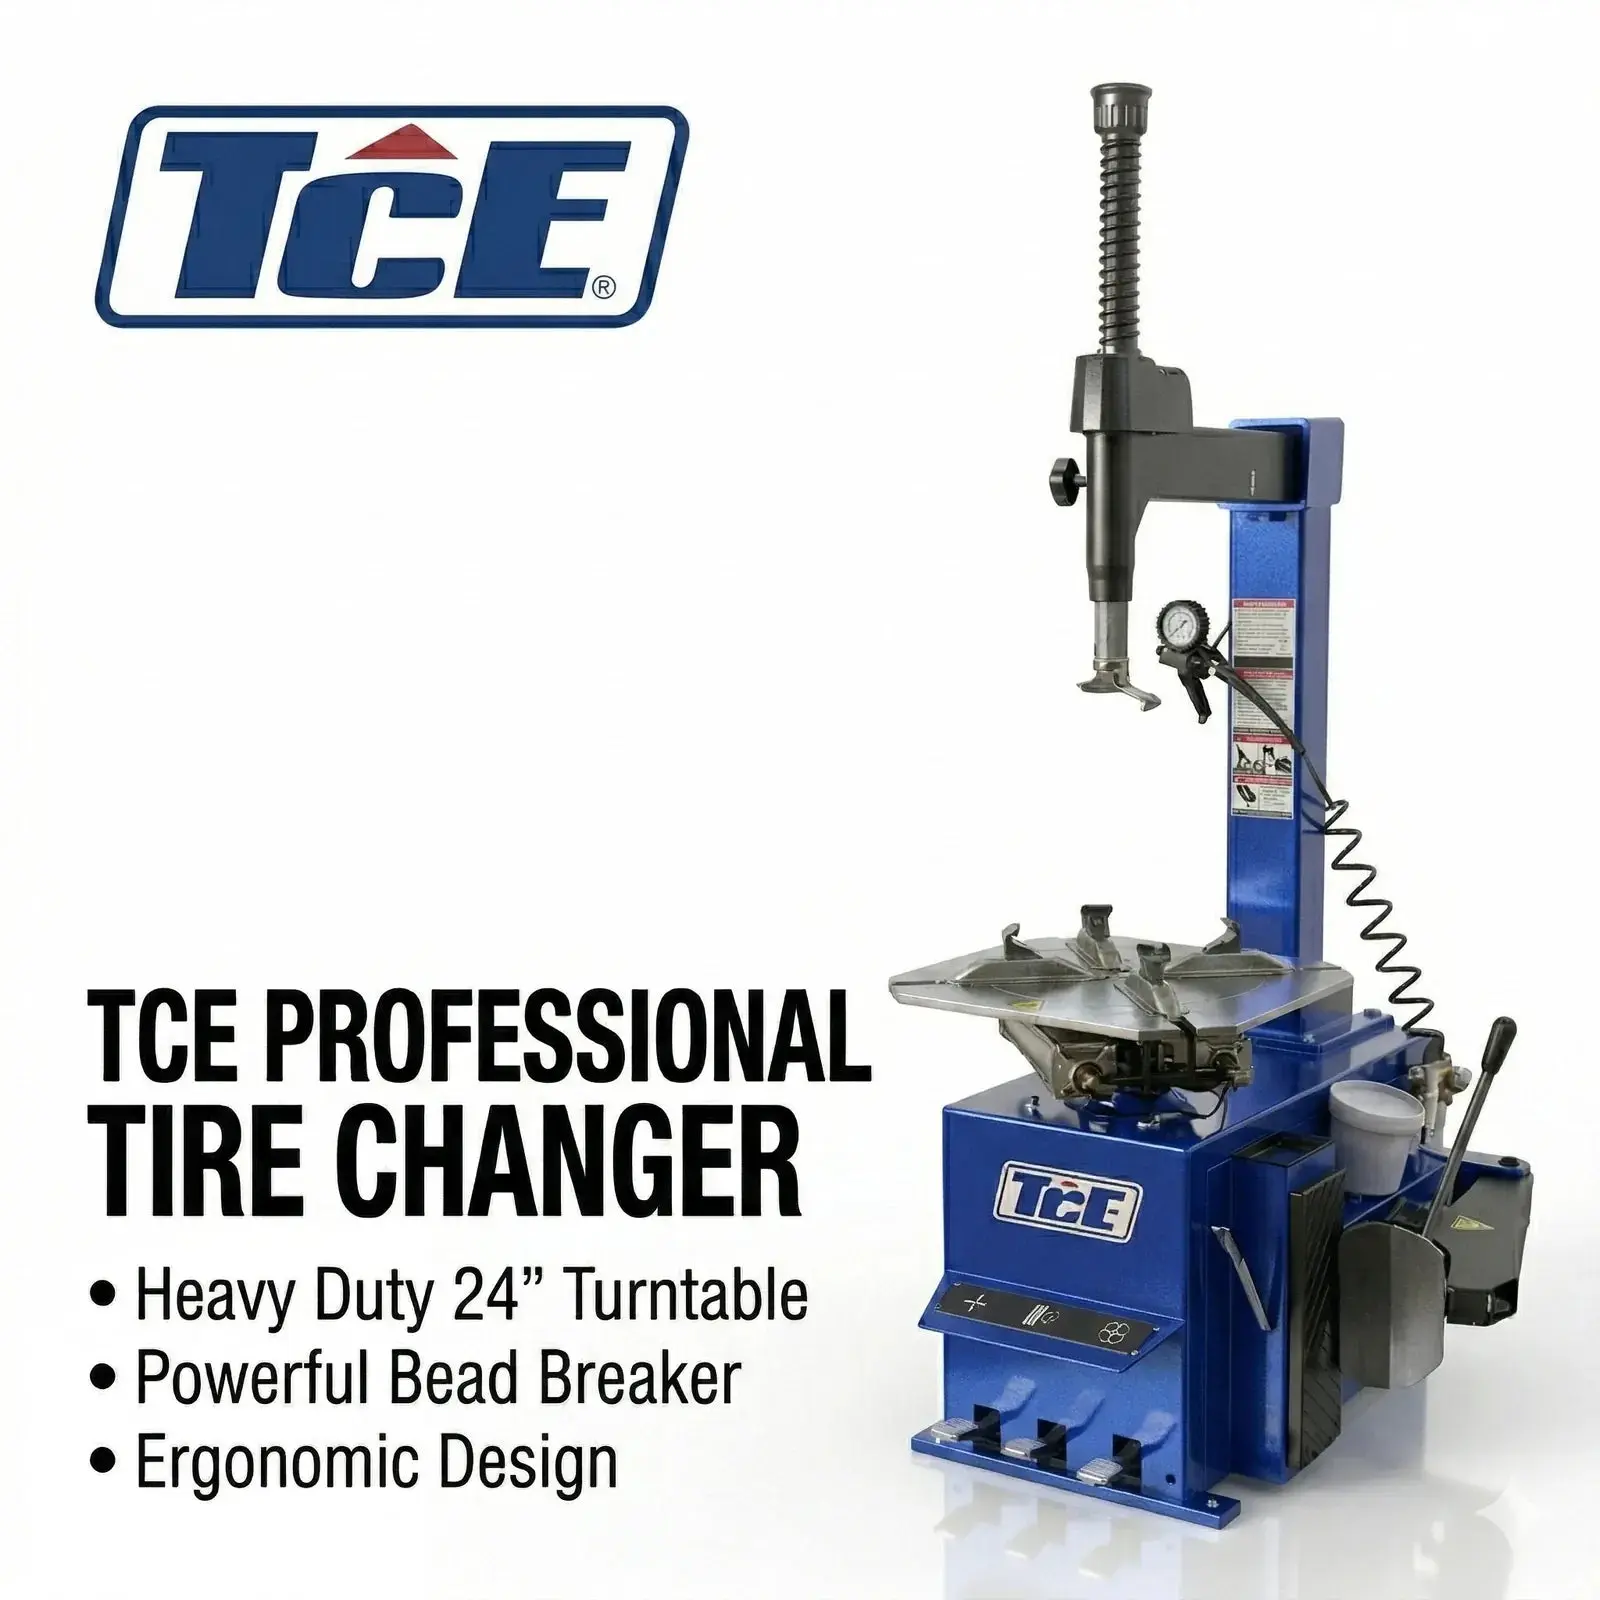
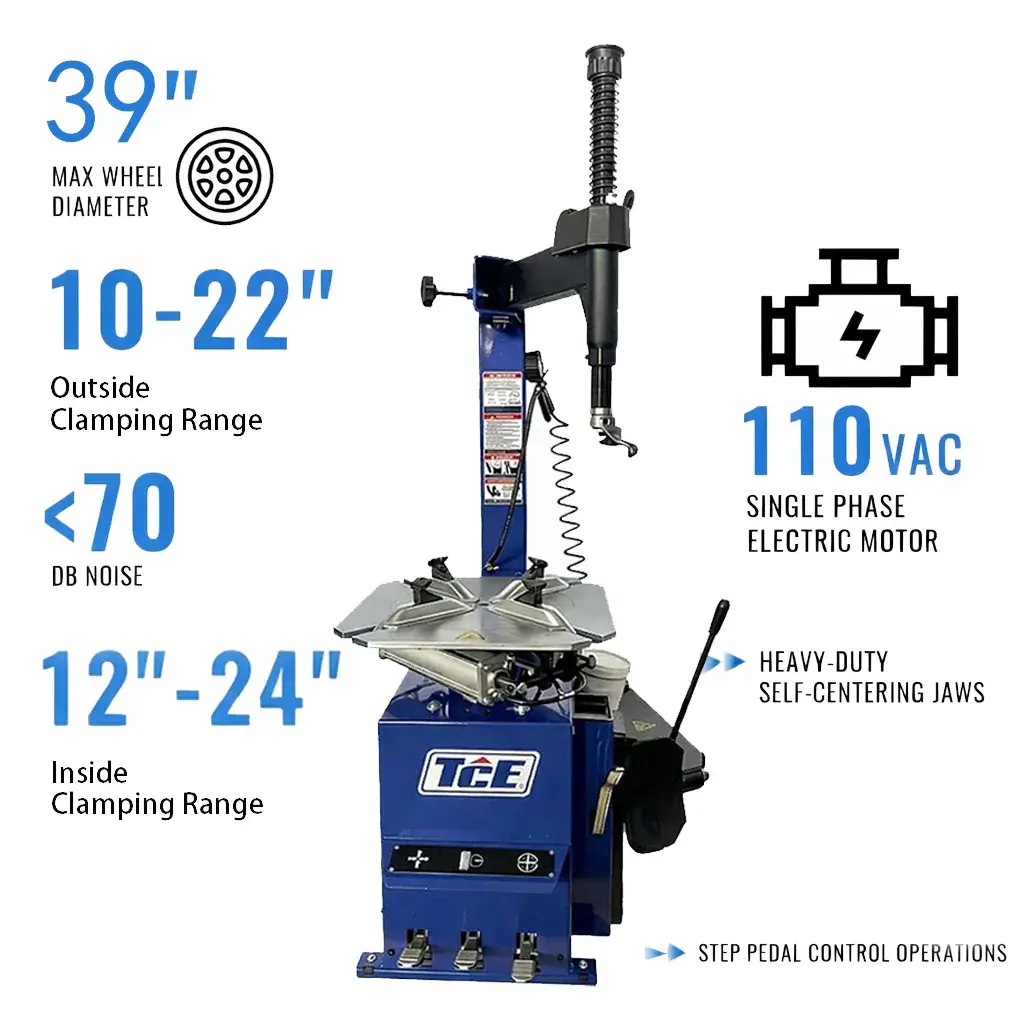
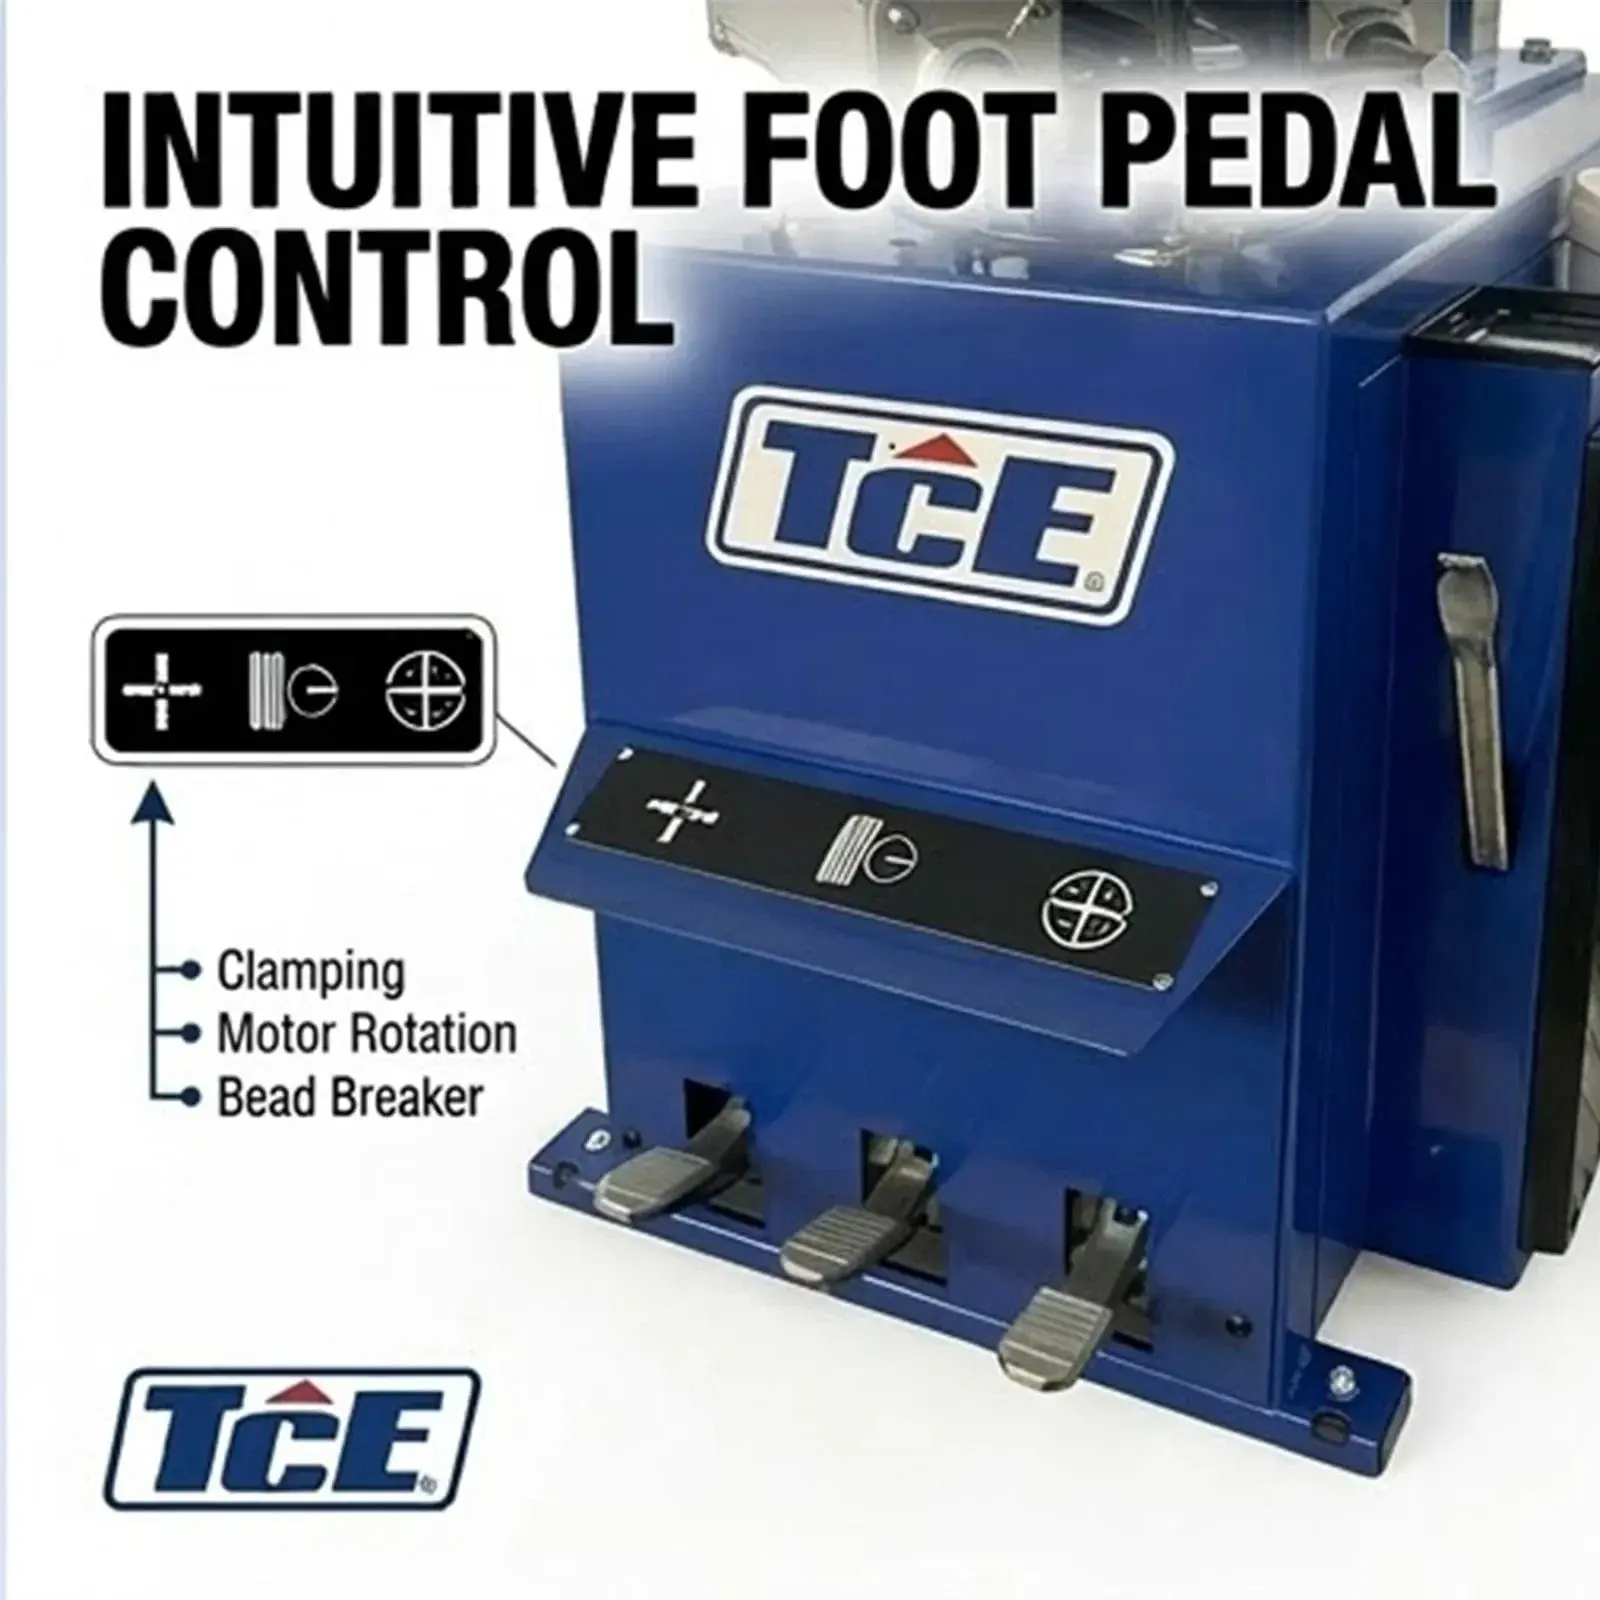
3-Pedal Hands-Free Operation
Separate pedals for turntable rotation, rim clamping and bead breaking—free your hands for precise tire handling, reduce fatigue and boost workshop efficiency.
US Standard Power Configuration
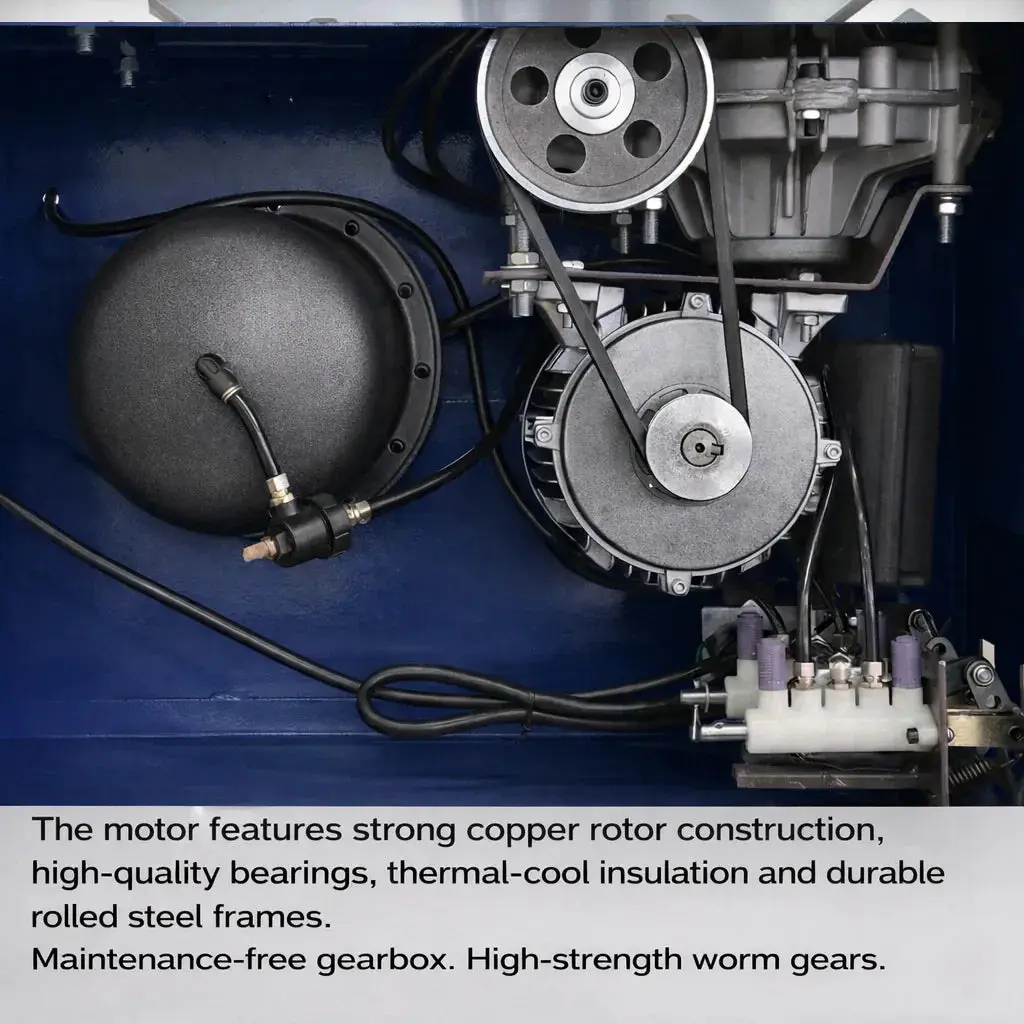
110V 60Hz single-phase 1.1KW motor, 8-10bar (117-145PSI) pneumatic source
Wide Tire & Rim Compatibility
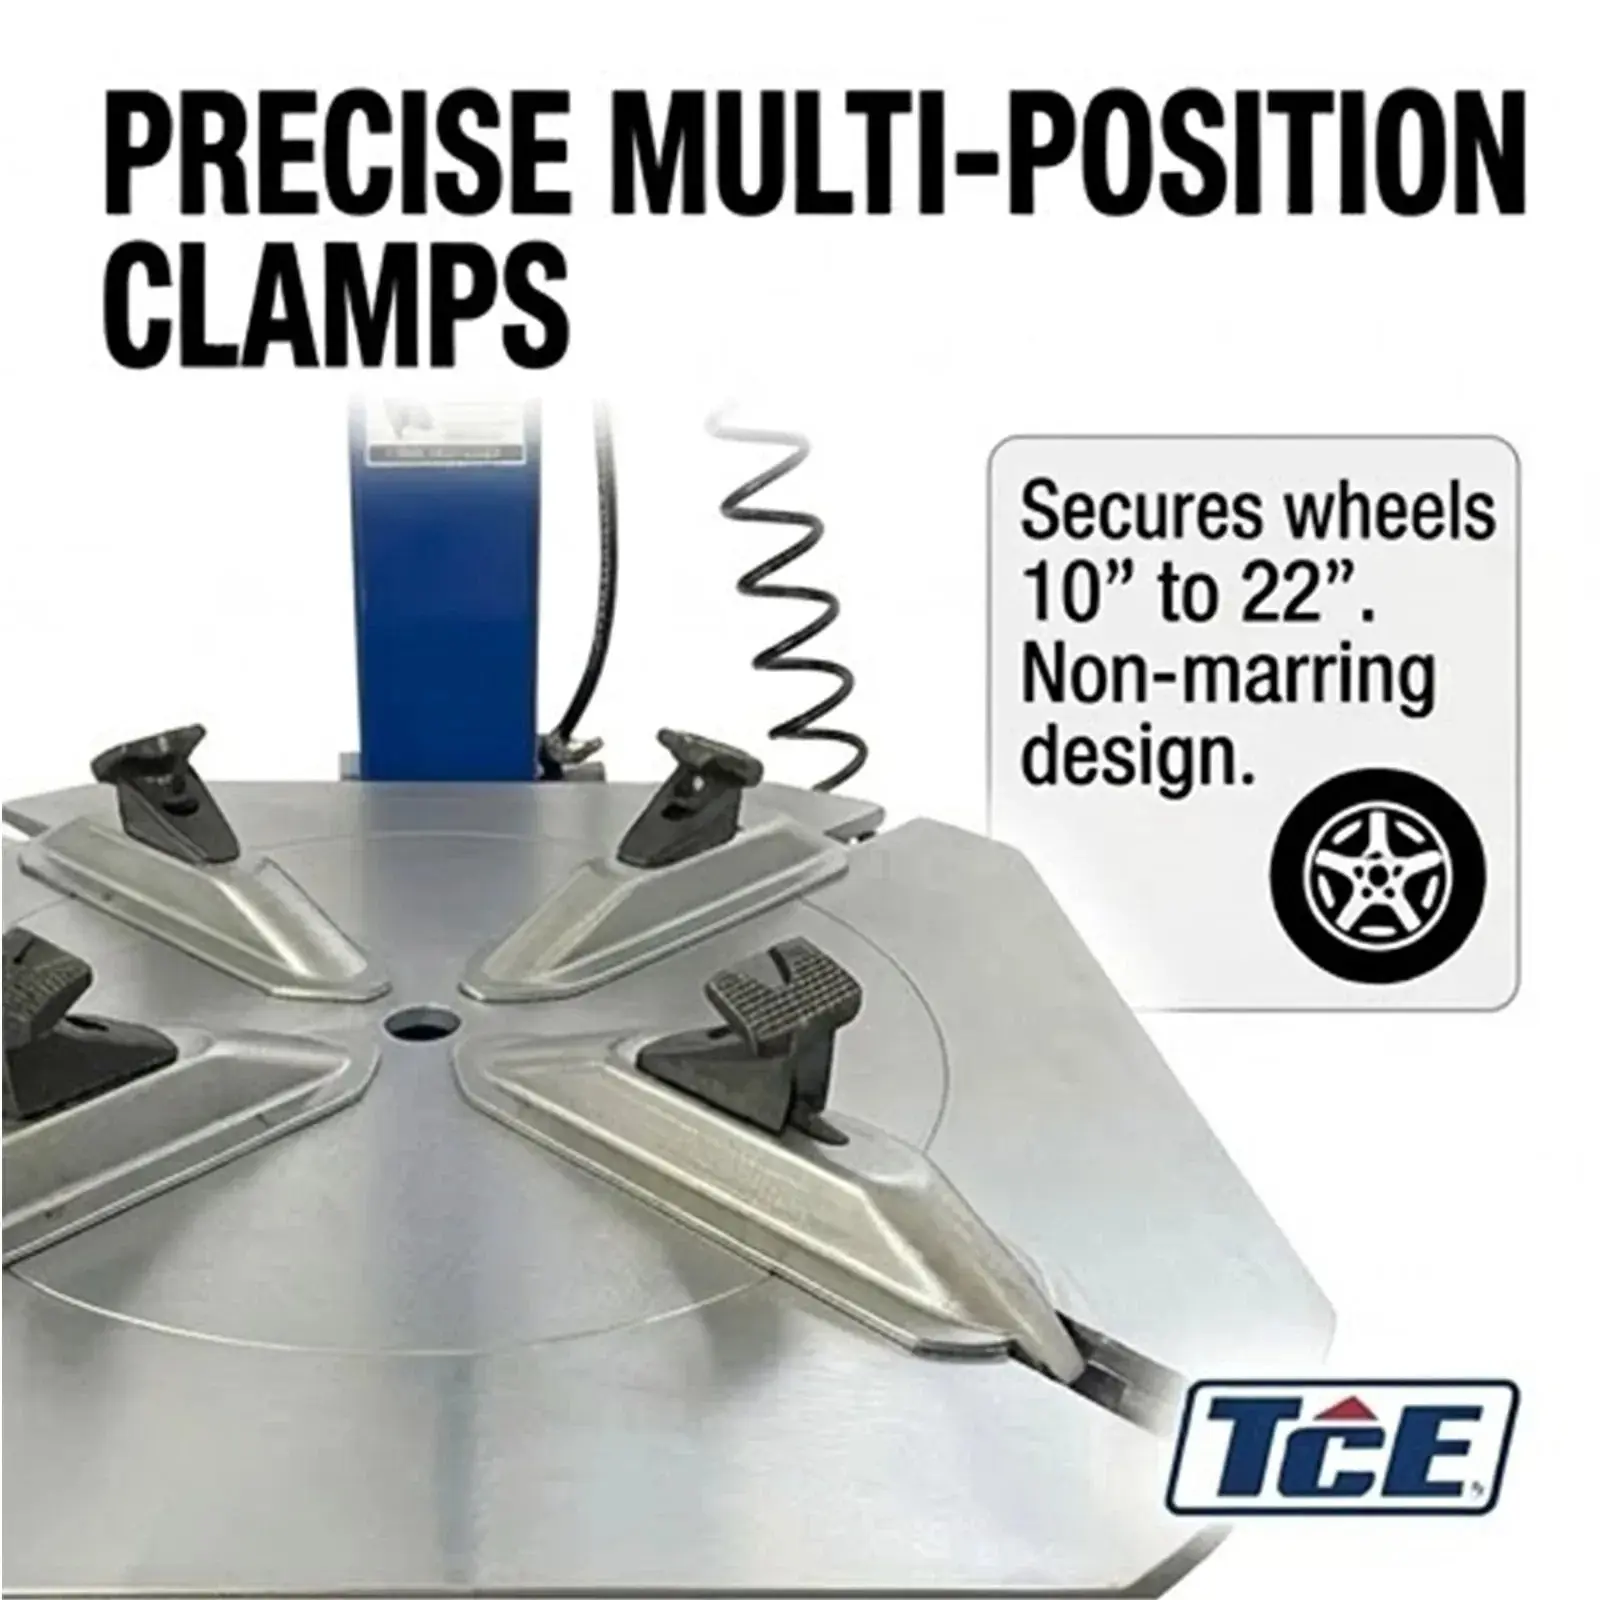
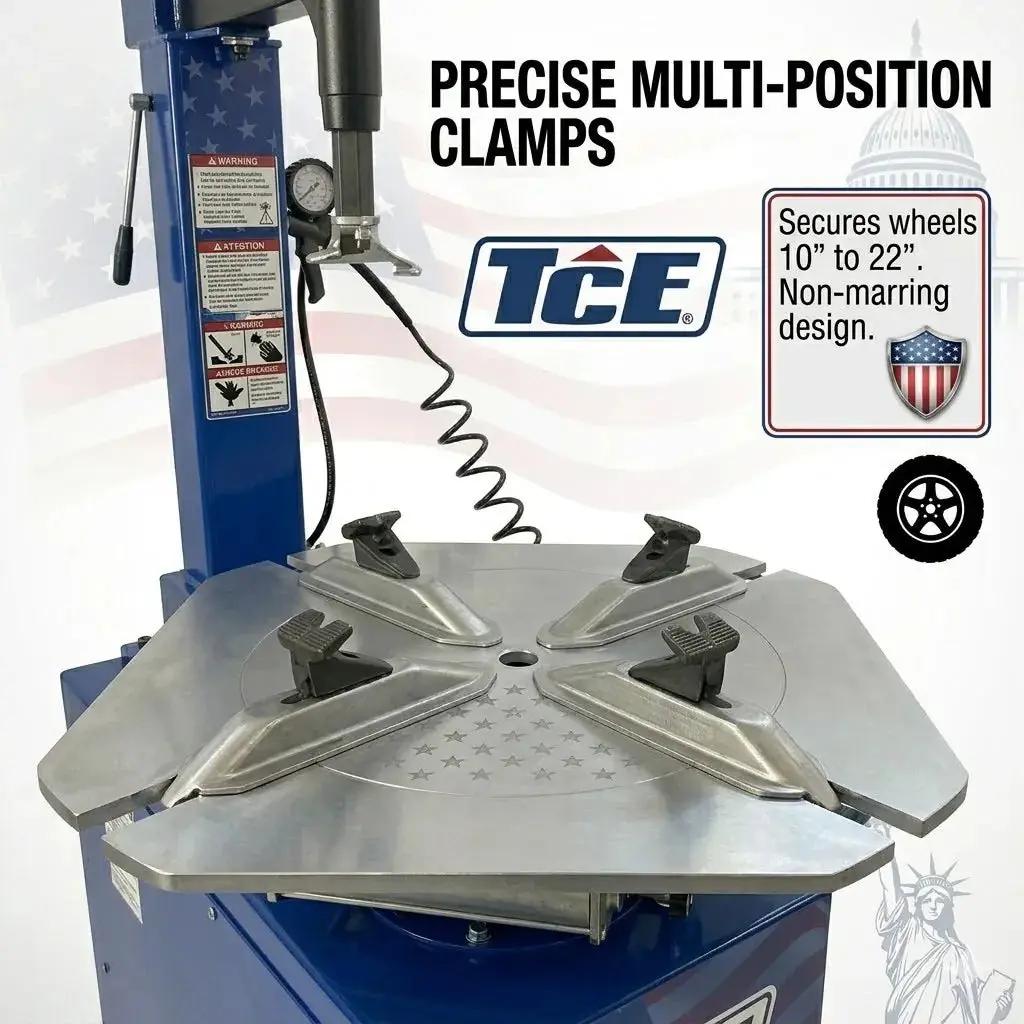
Handles wheels up to 39" diameter (1000mm) and 3-12" width; fits rim clamping (inside:12-24" / outside:10-22")—works for passenger cars, motorcycles and light trucks.
Quiet & Stable Performance
6rpm smooth turntable rotation, noise level <70dB(A)—no harsh workshop noise, stable operation for precise tire mounting/dismounting.
Durable Heavy-Duty Construction
High-strength steel clamping jaws, solid hex shaft and reinforced turntable—built for daily heavy use, anti-deformation and long service life.
Attributes and Specifications
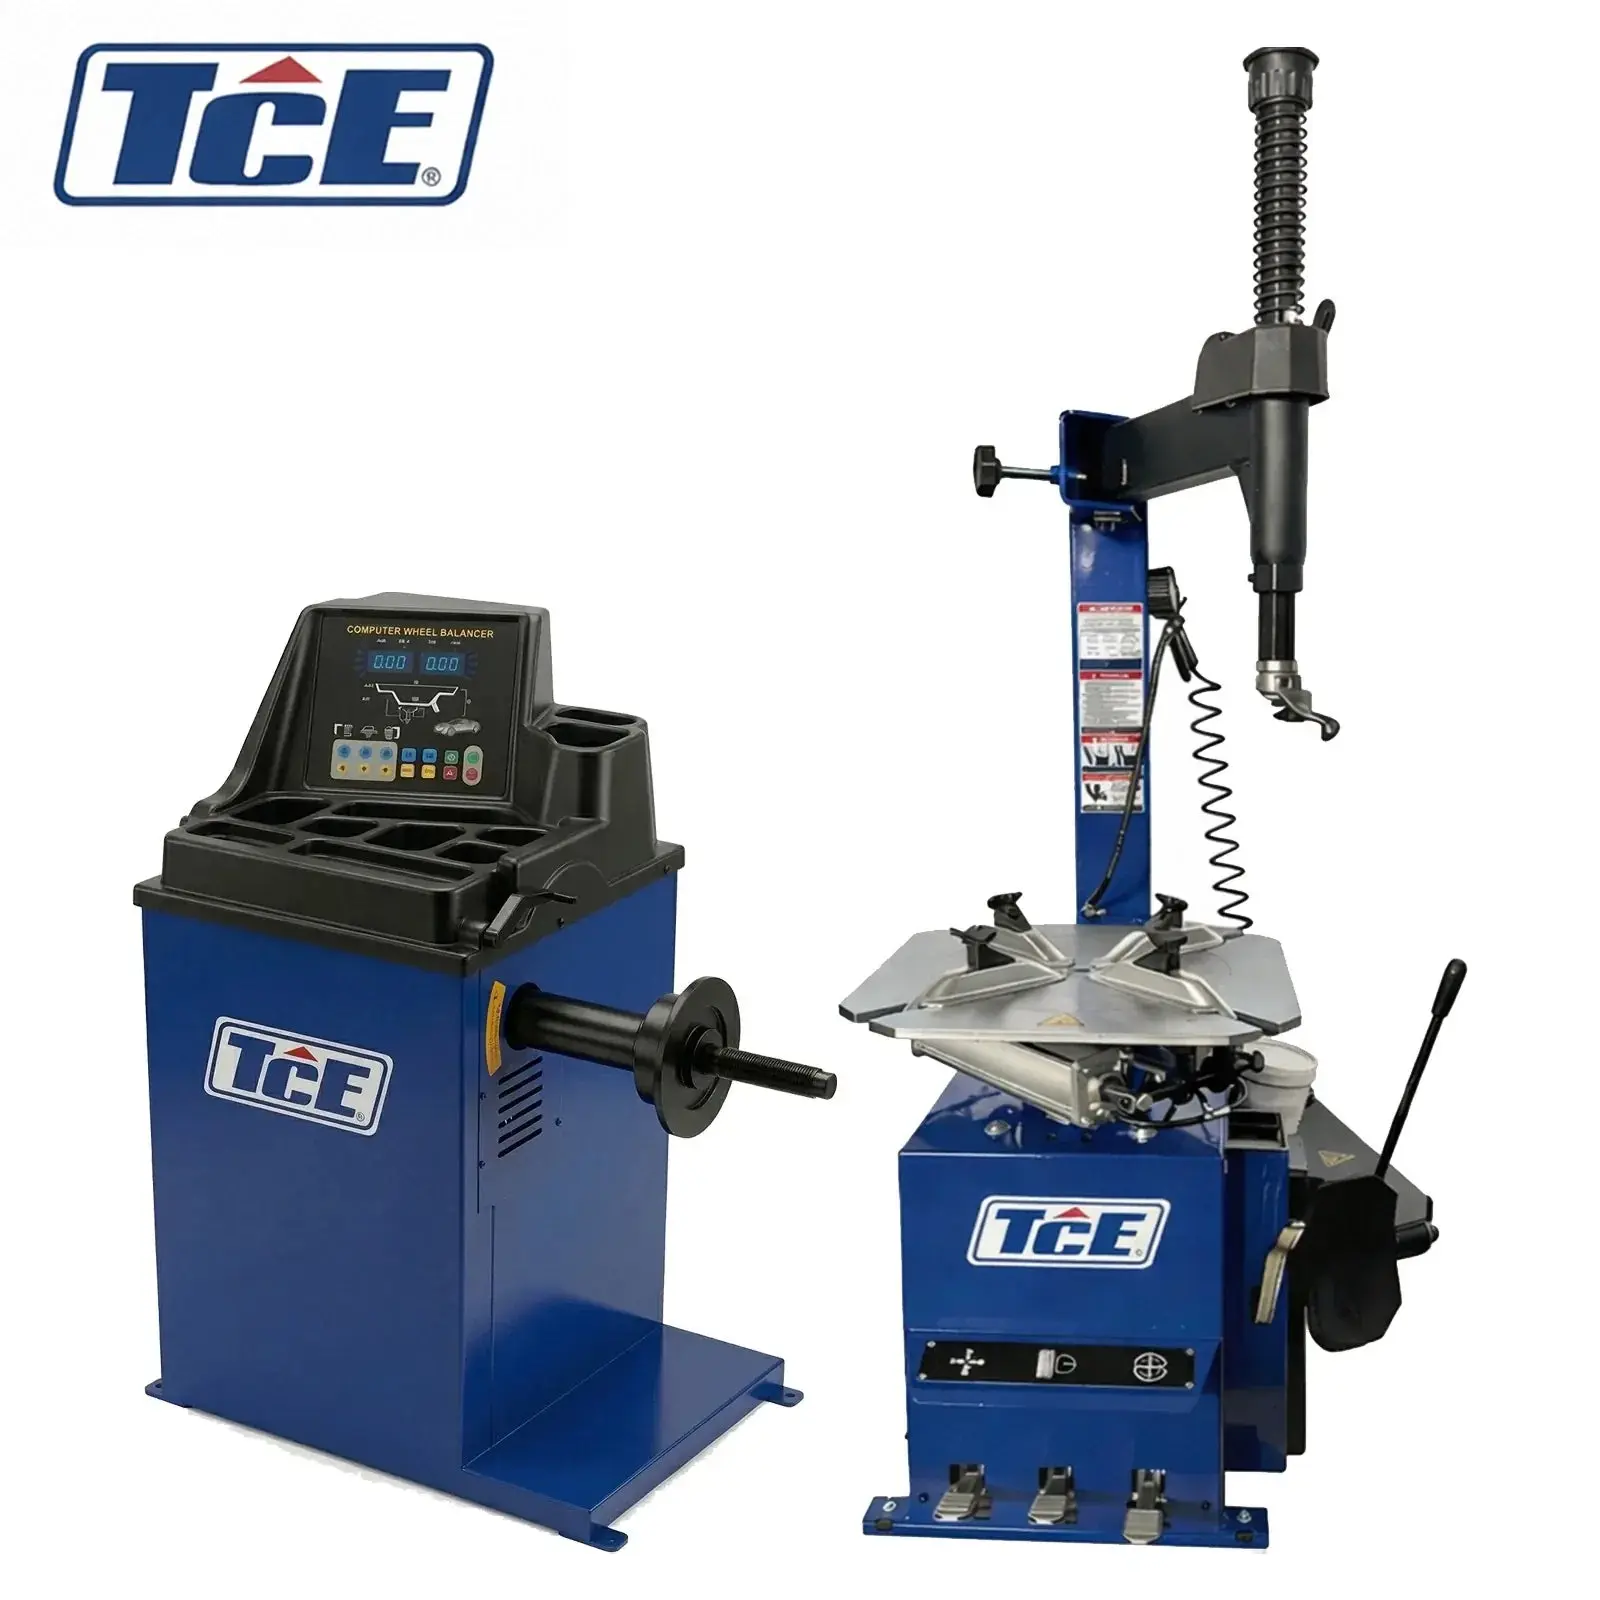
3-pedal tire changer Technical Specifications
|
| Motor |
110V 60Hz Single Phase, 1.1KW |
| Pneumatic Pressure |
8-10bar (117-145PSI) |
| Max Wheel Diameter |
39" (1000mm) |
| Tire Width |
3-12" (76-304mm) |
| Rim Clamping (Inside) |
12-24" (305-609mm) |
| Rim Clamping (Outside) |
10-22" (254-558mm) |
| Net Weight / Gross Weight |
173kg (381lbs) / 199kg (438lbs) |
| Packing Size |
39"×31"×35" (980×770×870mm) |
| Working Temperature |
-5℃~40℃ |
| Compatibility |
Passenger cars, motorcycles, light trucks |
Wheel Balancer | 110V 60Hz
|
| Voltage/Power |
110V 60Hz Single Phase, 250W Motor |
| Max Wheel Weight |
70kg / 154lbs |
| Rim Diameter |
10”~24” (254mm~610mm) |
| Max Back Space |
<240mm / 9.5” |
| Balance Modes |
6 Modes (Standard/ALU1/ALU2/ALU3/ST/ALUS) |
| Net Weight/Gross Weight |
78kg / 171lbs |
| Packing Size |
33” x 23” x 46” (840 x 575 x 1150mm) |
| Working Environment |
-5℃~50℃, ≤4000m altitude, ≤85% humidity |
| Compatibility |
Passenger cars, light trucks, motorcycles (steel/aluminum rims) |
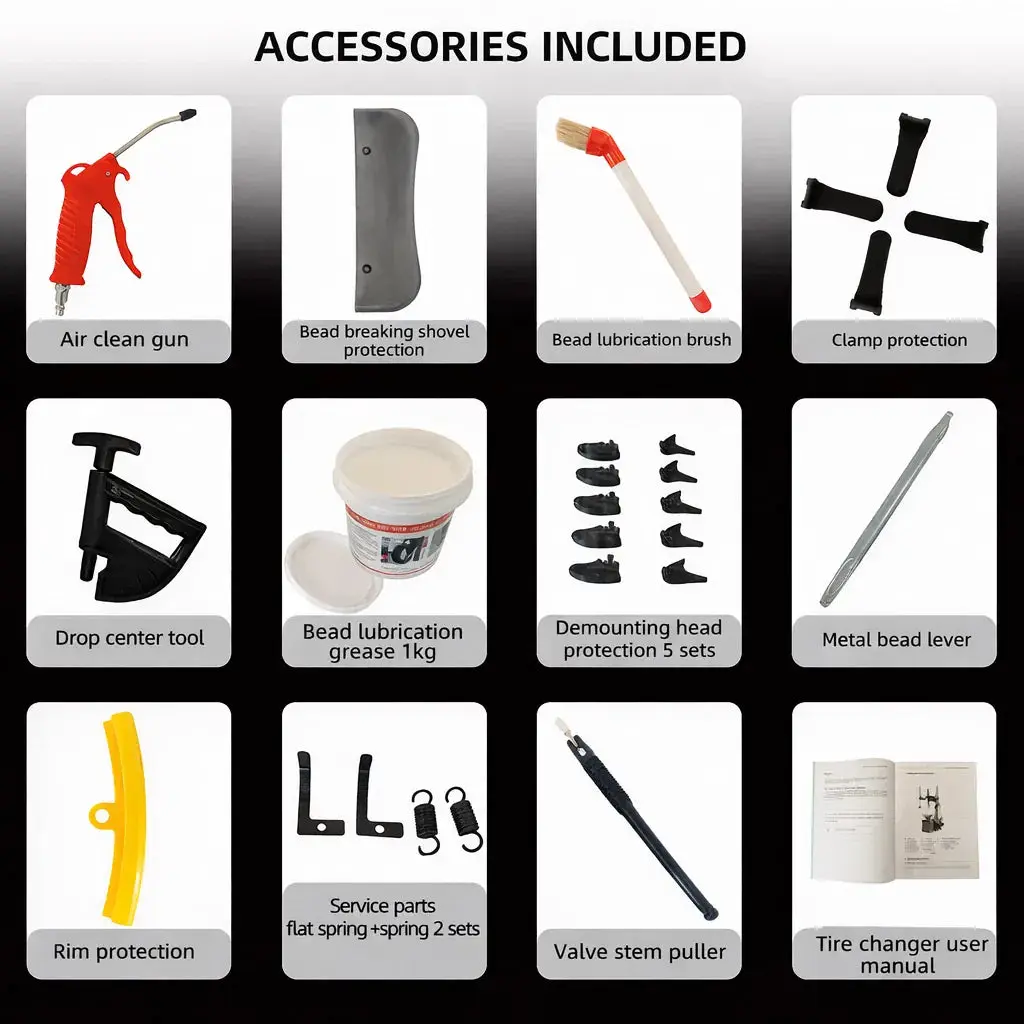
What’s Included:
- 3-Pedal Tire Changer Main Unit
- Inflation Gun + Pressure Gauge
- Bead Breaker Arm & Blade
- Clamping Jaws (with protective design)
- Crowbar + Rubber Support
- Air Regulator + PU Air Hose
- Detailed English Operation Manual
- Basic Installation Tools
Easy Operation Steps
1. Bead Breaking
Deflate tire completely → Position tire between bead breaker blade and wheel support → Step on bead breaker pedal to separate bead from rim → Repeat for full bead release.
2. Rim Clamping
Place wheel on turntable → Step on clamping pedal to lock rim (inside/outside as needed) → Ensure rim is centered and firmly fixed.
3. Tire Demount/Mount
Lubricate tire bead → Use hex shaft and tool head to align → Step on turntable pedal for rotation → Complete demount/mount with smooth 6rpm speed.
4. Inflation
Connect inflation gun to tire valve → Inflate to safe pressure (max 3.5bar) → Check bead seating and pressure gauge for accuracy.
Maintenance & Durability
-
Weekly Care: Clean turntable with diesel oil, lubricate clamping jaw guide rail to prevent rust.
-
30-Day Routine: Check air lubrication oil level, adjust oil feed for pneumatic system (1 drop per 3-4 pedal presses).
-
20-Day First Use Check: Retighten clamping jaw screws, inspect drive belt for looseness.
-
Long-Lasting Design: Reinforced internal structure, anti-wear slide blocks and corrosion-resistant parts.
Important Safety Notes
-
Professional Operation Only: Must be operated by trained authorized personnel.
-
Safety Gear Required: Always wear safety glasses when operating, especially during inflation.
-
Inflation Safety: Stand clear of tire during inflation (risk of explosion if overpressurized) → Never exceed 3.5bar (51PSI) on the machine.
-
No Loose Attire: Avoid long hair, loose clothes and jewelry—prevents snaring in moving parts.
-
Hand Clearance: Keep hands away from clamping jaws, bead breaker blade and pinch points at all times.
Shipping & Handling
-
Packaging: Heavy-duty original factory packaging, suitable for forklift transportation (fork insertion points marked on box).
-
Unloading: Forklift required for unloading → No liftgate service included, contact for add-on options.
-
Storage: If stored long-term, cut power/pneumatic source and lubricate metal parts to avoid oxidation.
-
US Shipping: Ships to continental US 48 states (no PO Box/APO/FPO).
Installation Tips
- Basic assembly required (detailed manual included) → Tools needed: 10" wrenches, socket wrench, hex wrench, screwdriver, hammer.
- Air regulator is packed separately—easily mounted on the machine body with included screws (air source must be cut off during installation).
- Electrical connection: Must be grounded to local standards, 16A minimum power plug recommended (fuse equipped).
- Test run after assembly: Verify pedal functions and turntable rotation before actual use.
Why Choose Our 3-Pedal Tire Changer?
Efficiency Boost: 3-pedal design cuts tire change time by 50% vs. manual operation—ideal for busy garages and tire shops.
US Ready: 110V 60Hz motor fits all North American electrical setups—no voltage conversion needed.
Versatile Use: From small motorcycle tires to 39" large wheels, one machine covers all your needs.
Quiet Workshop: <70dB operation creates a comfortable working environment for technicians.
Complete Kit: All tools and accessories included—unbox and assemble with minimal effort.
Warehouse Pickup Offer(SAVE MORE WITH DISCOUNT):
Get $300 OFF! Message us by tcecustomerservice@torin-usa.com right after placing your order.
1. Available pickup locations:
NJ: North Brunswick, Linden
TX: Brookshire, Baytown
GA: Forest Park
CA: Colton, Azusa
IL: Romeoville
2. Contact us by tcecustomerservice@torin-usa.com to reserve stock and book your pickup time
3. Bring your BOL and order number to collect your items easily
Operation Manual & Video:
Product Installation Link: https://youtu.be/qCEDoFtoHWM
OPERATION MANUAL CLICK HERE